
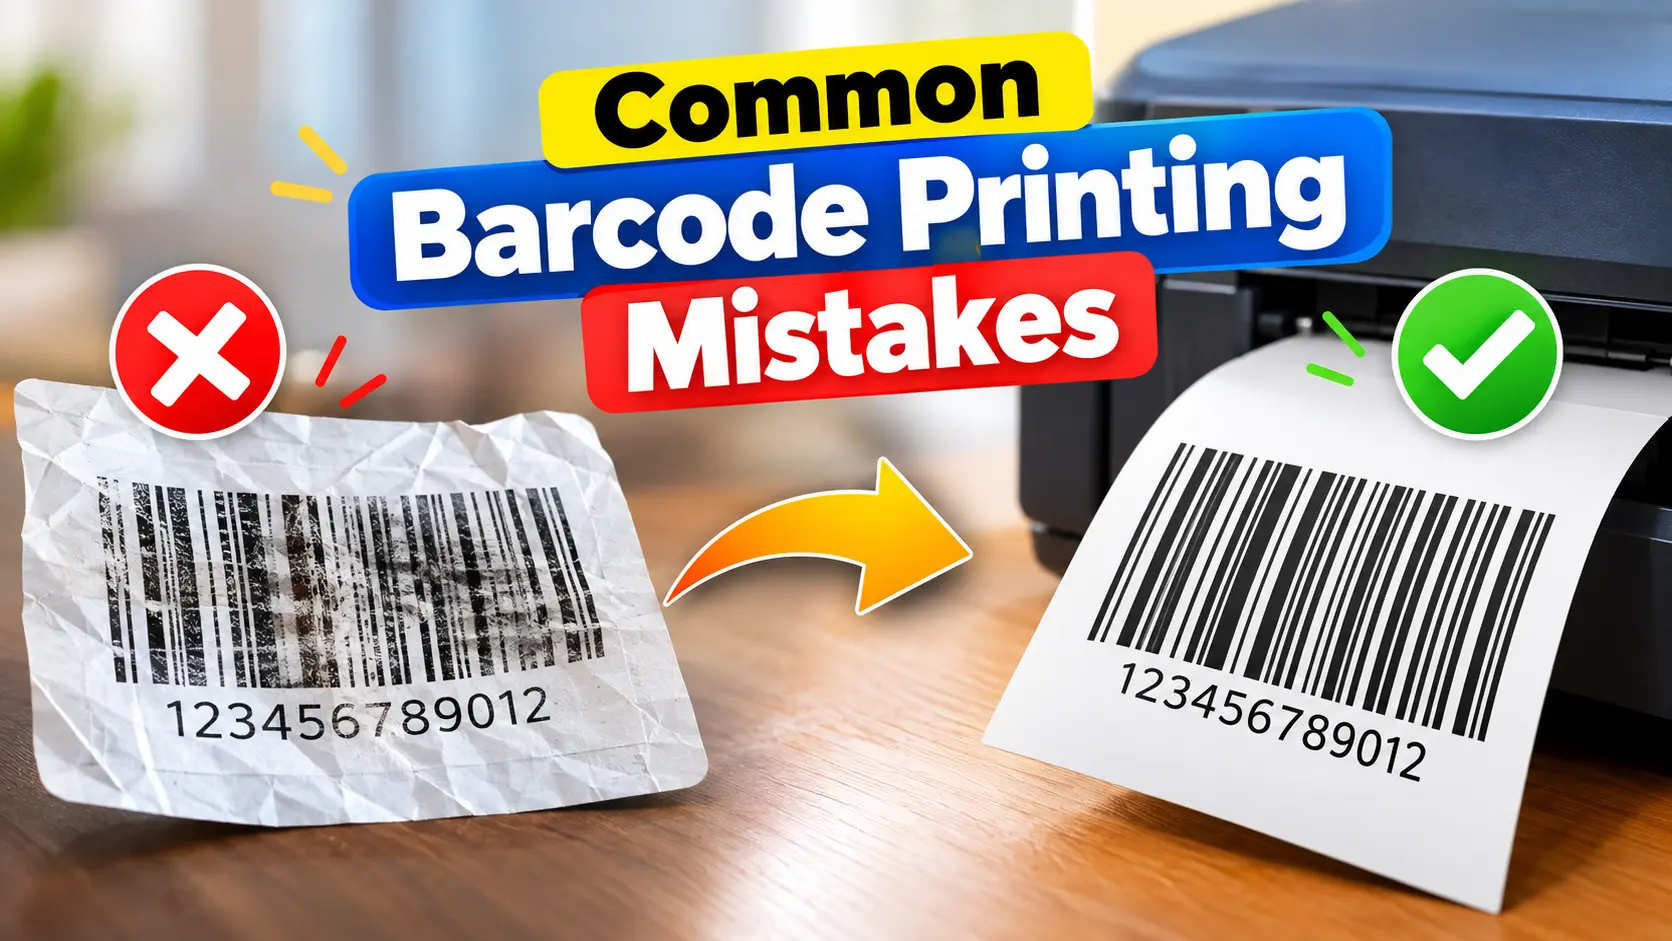
Most barcode printing problems do not begin with the encoded number itself. They happen when a correct barcode is resized badly, printed with weak contrast, squeezed into the wrong space, produced with unsuitable settings, or applied to a surface that distorts the symbol.
That means a barcode can look acceptable on a computer screen but perform poorly after printing. Before blaming the scanner or generating a new barcode, it is worth checking whether the problem was introduced somewhere between the original barcode file and the final physical label.
Common Barcode Printing Mistakes at a Glance
The table below shows the most common problems, what they can do to a printed barcode, and the first corrective action worth trying.
| Printing Mistake | What Can Go Wrong | First Thing to Check |
|---|---|---|
| Barcode printed too small | Narrow bars and spaces lose definition | Barcode dimensions |
| Barcode stretched or compressed | Bar proportions become distorted | Aspect ratio and scaling |
| Quiet zone crowded | Scanner struggles to identify the symbol boundary | Clear space around barcode |
| Weak color contrast | Bars are harder to distinguish | Bar and background colors |
| Low-quality source image | Barcode prints blurry or jagged | Source artwork |
| Darkness too high or low | Bars fade, spread, or merge | Heat/darkness setting |
| Print speed too high | Edges become less consistent | Printer speed |
| Dirty or worn printhead | White lines or missing areas appear | Printhead condition |
| Wrong label or ribbon | Print smears, fades, or transfers poorly | Media compatibility |
| Poor placement | Barcode bends, folds, or becomes obscured | Label position |
| Wrinkled or damaged label | Bars become physically distorted | Label application |
| No test before bulk printing | Small defects affect an entire batch | Sample testing |
Why Barcode Print Quality Matters
A barcode reader depends on a clear pattern of printed bars and spaces. If those elements become distorted during printing, the barcode may take longer to read, scan inconsistently, or fail under certain conditions.
The full process can be thought of as correct data → correct barcode artwork → accurate printing → usable final label. A failure introduced at any of those stages can affect the result even when everything before it was correct.
This distinction is important because barcode troubleshooting becomes much easier when you know whether the problem starts with the artwork, the printer, the label material, or the scanner.
1. Printing the Barcode Too Small
A common mistake is shrinking a barcode until it fits whatever space remains on a label. As the symbol becomes smaller, narrow bars and spaces become increasingly difficult for a printer to reproduce cleanly.
This matters even more with lower-resolution printers or dense barcode symbols. A barcode that looks sharp on a monitor may not remain equally precise when its elements must be represented by individual printer dots.
Do not choose barcode dimensions only according to appearance. Start with the requirements of the barcode symbology being used, then design the label around a suitable barcode size instead of shrinking it at the end.
There is also no single minimum size that works for every barcode. UPC, EAN, Code 128, QR Code, Data Matrix, and other symbologies have different structural and sizing requirements.
2. Stretching or Compressing the Barcode
Making a barcode larger or smaller is not the same as distorting it. If its width or height is changed independently, the relationship between bars and spaces can be altered.
This often happens when barcode artwork is placed into design software and manually dragged until it fits the available area. The symbol may still look like a normal barcode even though its proportions are no longer what they should be.
Keep proportional scaling locked whenever barcode artwork is resized. If you need a substantially different output size, generating the barcode again at the required dimensions is usually safer than repeatedly manipulating an existing image.
Pay particular attention to bar width or module size when working with very small symbols. If individual barcode elements become too narrow for the printer to reproduce consistently, the problem is not simply cosmetic.
3. Removing or Crowding the Quiet Zone
The blank space surrounding a barcode is functional space, not unused design space. This area, commonly called the quiet zone, helps a scanner identify where the barcode begins and ends.
Problems appear when text, borders, logos, decorative lines, packaging graphics, or other printed elements move too close to the symbol. A label may look visually efficient while becoming less reliable during scanning.
Preserve the required clear area when laying out the barcode. The correct quiet zone depends on the barcode type, so avoid relying on one arbitrary margin for every symbology.
The easiest approach is to reserve this space when the label is first designed. Trying to recover a lost quiet zone after the layout is already crowded often leads to unnecessary compromises elsewhere.
4. Using Poor Barcode and Background Colors
Barcode colors should be chosen for readability first and decoration second. Scanning equipment needs a clear difference between the symbol elements and the background behind them.
Light bars, dark backgrounds, similar shades, metallic finishes, transparent packaging, or strong artwork beneath the barcode can all create problems. Some combinations may look visually striking while producing weak practical contrast.
For most applications, dark bars on a light background remain the safest approach. Black on white is common because it gives a strong, simple contrast and avoids unnecessary complexity.
If your packaging requires non-standard colors, test the actual printed result. Do not rely only on what the colors look like on a computer monitor.
5. Printing From a Blurry or Low-Quality Barcode Image
A barcode should begin with clean source artwork. Screenshots, tiny images copied from webpages, heavily compressed JPG files, or repeatedly resized graphics can introduce jagged edges and blurred bar boundaries before the printer even receives the file.
The problem often becomes obvious when a small raster image is enlarged. Even when pixelation is not immediately visible, resampling can alter fine barcode elements enough to reduce print quality.
Whenever possible, generate the barcode at an appropriate output size rather than enlarging a tiny existing file. Clean vector output or sufficiently high-quality raster artwork is preferable to screenshots or heavily compressed images.
Avoid unnecessary editing after generation as well. Repeated cropping, exporting, sharpening, resaving, and resizing can gradually degrade artwork that was originally correct.
6. Setting Print Darkness Too High or Too Low
Thermal printers often allow control over darkness, heat, or energy. Increasing these settings does not automatically improve barcode quality.
When printing is too light, bars may appear faded, broken, or incomplete. When printing is too dark, heat or transferred material can cause bars to spread and reduce the clean white spaces between them.
Make small adjustments rather than moving immediately to extreme settings. Print another sample after each meaningful change and look for solid bars with clean, clearly separated edges.
The ideal setting can also change when you switch label stock, ribbon, printer model, or print speed. A darkness level that worked yesterday may not be optimal after changing media.
7. Printing Barcodes Too Fast
Print speed affects a different part of the process from print darkness. Darkness controls how strongly the image is produced, while speed influences how much time the printer has to form that image accurately.
At higher speeds, some printer and media combinations may produce rougher edges, weaker transfer, or inconsistent narrow elements. This becomes more noticeable when the barcode is small or the printer is operating close to its practical limits.
If quality deteriorates at production speed, try printing the same barcode more slowly while keeping other settings unchanged. This makes it easier to tell whether speed is contributing to the defect.
There is no reason to run every barcode printer slowly. The goal is simply to find the fastest setting that still produces consistently clean output.
8. Ignoring a Dirty or Worn Printhead
A repeating defect in the same position across multiple labels often points to the printer rather than the barcode file. Dust, adhesive residue, ribbon debris, or printhead wear can leave missing sections or vertical white lines through printed symbols.
The repetition is the useful clue. If different barcode designs develop the same gap in the same physical location, regenerating the barcode will not solve the problem.
Inspect and clean the printer according to the manufacturer's instructions. Use only suitable cleaning methods because damaging a printhead while trying to fix a minor defect creates a much larger problem.
If a consistent line remains after proper cleaning, the printhead or another mechanical component may need closer inspection.
9. Using the Wrong Label or Ribbon Combination
Even correct printer settings cannot compensate for badly matched media. The label surface, printing method, ribbon, and intended environment need to be compatible with one another.
A poor combination can produce weak transfer, smearing, excessive fading, or print that rubs away too easily. In that situation, repeatedly increasing darkness may mask the problem temporarily without addressing its cause.
For thermal-transfer printing, make sure the ribbon suits the label stock and the conditions in which the barcode will be used. For direct-thermal labels, consider whether heat, sunlight, abrasion, storage duration, or other environmental factors could affect readability.
The practical mistake is not simply choosing one printing technology over another. It is using materials that do not match the printer or the life the final label is expected to have.
10. Placing the Barcode in a Difficult Location
A perfectly printed barcode can become unreliable because of where it is placed. Seams, folds, sharp curves, textured surfaces, corners, and areas likely to be covered can all interfere with the final symbol.
Placement also affects how easily a person or automated scanner can present and read the barcode. A label hidden under a flap or wrapped tightly around a narrow curved surface creates an avoidable scanning challenge.
Whenever possible, place the barcode on a flat, smooth, accessible area. Make sure the complete barcode and its surrounding clear space remain visible after packaging, handling, stacking, and normal use.
Barcode placement should therefore be decided during label or packaging design, not treated as an afterthought once every other element has already been fixed in place.
11. Applying Wrinkled, Creased, or Damaged Barcode Labels
Good printing can be ruined during application. Wrinkles, bubbles, tears, scratches, and folds physically change the appearance of the barcode after it leaves the printer.
Apply labels to clean, suitable surfaces and smooth them evenly. Curved containers, flexible packaging, rough materials, and uneven surfaces deserve extra attention because they are more likely to deform the symbol.
The barcode should also survive the environment in which it will be used. If labels regularly peel, fade, smear, or abrade during normal handling, the material itself may not be suitable for the application.
Always inspect the barcode in its final real-world position. A clean label coming directly from the printer does not guarantee that it will remain equally usable after application.
12. Printing a Full Batch Without Testing First
A minor error becomes expensive when it is repeated across hundreds or thousands of labels. Printing a large batch before checking a real sample is therefore one of the easiest barcode printing mistakes to avoid.
A better process is to generate the barcode, print several representative samples, inspect them, scan them under realistic conditions, and correct obvious problems before continuing. Use the same printer, media, size, settings, and application method that will be used for the actual production run.
It is also important to distinguish scanning from verification. A scanner mainly tells you whether that device can read the barcode, while formal barcode verification evaluates print quality and compliance against defined criteria for the applicable barcode standard.
A barcode that scans once should not automatically be treated as perfect. For applications where formal standards matter, use the appropriate verification process before committing to a large production run.
Three Things to Check Before Blaming the Barcode Printer
When a barcode fails, the printer is an easy target, but it may not be the real source of the problem. Checking three stages separately usually gives you a faster diagnosis.
First, inspect the source barcode. Make sure the artwork is sharp, appropriately sized, proportionally scaled, and surrounded by the necessary clear space.
Second, inspect the physical label. Look for faded printing, spread bars, white lines, smearing, wrinkles, poor placement, or damage that did not exist in the original digital file.
Third, test the scanner and setup using another barcode that is already known to work. If a known-good barcode also fails, the problem may be with the scanner, configuration, environment, or reading conditions rather than your printed label.
Barcode Artwork Problem or Printer Problem? How to Tell
The source of a barcode failure becomes easier to identify when digital artwork and physical printing are evaluated separately. A problem that already exists before printing cannot be corrected by changing printer darkness or speed.
The following symptoms are useful starting points rather than absolute diagnoses.
| Symptom | More Likely Source |
|---|---|
| Barcode is visibly stretched | Artwork or layout |
| Bars/modules are too narrow for reliable output | Barcode sizing or artwork |
| Text or graphics enter the quiet zone | Layout |
| Barcode is pixelated before printing | Source image |
| Every label prints too lightly | Printer setting or media |
| Every label prints too heavily | Darkness/heat setting |
| Same vertical white line appears repeatedly | Printhead or printer |
| Printed image smears easily | Media, ribbon, or printer settings |
| Barcode shifts position between labels | Calibration or media setup |
| Label wrinkles after application | Label material or application |
| Barcode is clear but positioned over a fold | Packaging or layout |
You can also compare multiple test prints. If different barcode files develop the same physical defect in the same place, the printer or media becomes the stronger suspect.
If the problem follows only one barcode file while other barcodes print correctly, focus first on the artwork, dimensions, export process, and label layout.
Pre-Print Barcode Checklist
Before printing a large batch, confirm the basic barcode setup rather than relying on visual appearance alone.
Confirm that the barcode contains the intended data and uses the appropriate symbology.
Check that the barcode is not being printed below a suitable size.
Make sure the artwork has not been stretched or compressed.
Protect the required quiet zones from text, borders, and other graphics.
Use strong contrast between barcode elements and the background.
Start from clean, sharp source artwork rather than screenshots or tiny images.
Check print darkness, heat, and speed using real sample labels.
Make sure the label stock and ribbon are suitable for the printer and application.
Inspect the printhead if repeated gaps or white lines appear.
Place the barcode on a flat, accessible area whenever possible.
Apply the label without wrinkles, bubbles, or creases.
Scan several real samples before bulk printing and use formal verification where required.
A checklist like this is most useful before production, not after a failure has already appeared. Catching one small issue during setup can prevent the same defect from being repeated across an entire batch.
What If the Printed Barcode Still Will Not Scan?
Printing is only one possible reason a barcode fails. If size, distortion, quiet zones, contrast, source quality, printer output, label damage, and placement all appear correct, the next step is to examine the scanning side of the process.
Scanner configuration, supported symbologies, reading distance, scanning angle, reflections, damaged symbols, and environmental conditions can all affect results. A dedicated barcode not scanning troubleshooting guide can then help separate scanner problems from barcode printing problems.
Avoid repeatedly increasing print darkness or regenerating the same barcode without evidence that either step addresses the actual failure. Troubleshooting is much faster when source artwork, print production, label application, and scanning are treated as separate stages.